
I previously used cork to make a stacked stone facade. That style used 1/8" thick cork. You can see it on the Belmont Dollhouse here.

To make the cork bricks I got out my large sheet of 1/4" thick cork. Miniatures.com sells it here. I also used a square, a utility knife with a fresh blade, and a self-healing craft mat under the cork. I needed one large sheet to do the front of the house and the foundation of the sides. I used Aleenes tacky glue to adhere the bricks to the house.


A few notes about my experience:
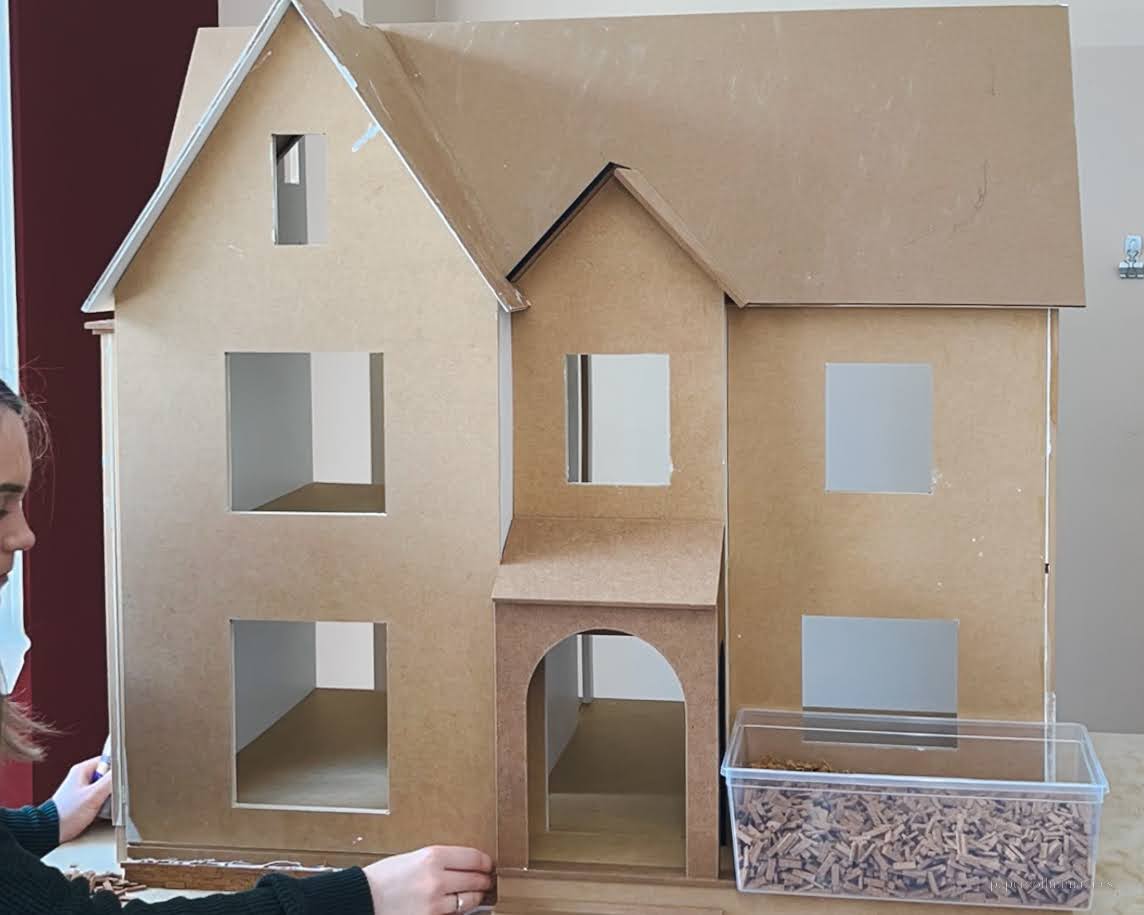
I decided to brick my dollhouse before the gable roofs were glued down, that's why some photos will have the roof missing. I found it easier to add on the bricks to the peaks and cut off the edges. There are pros and cons to this. I had to go back and reapply some areas around the side of the smaller gable roof after it was glued.
I also did the bricking with my windows taped temporarily. At the time I hadn't had a chance to paint the windows so I wanted to be able to pull them out. This method still worked fine and I simply added some white wood filler to fill in any tiny gaps at the end. It also made painting the bricks much easier.
I began on the largest gable going up row by row. The window trim is missing because it was broken, so I left an overlap.
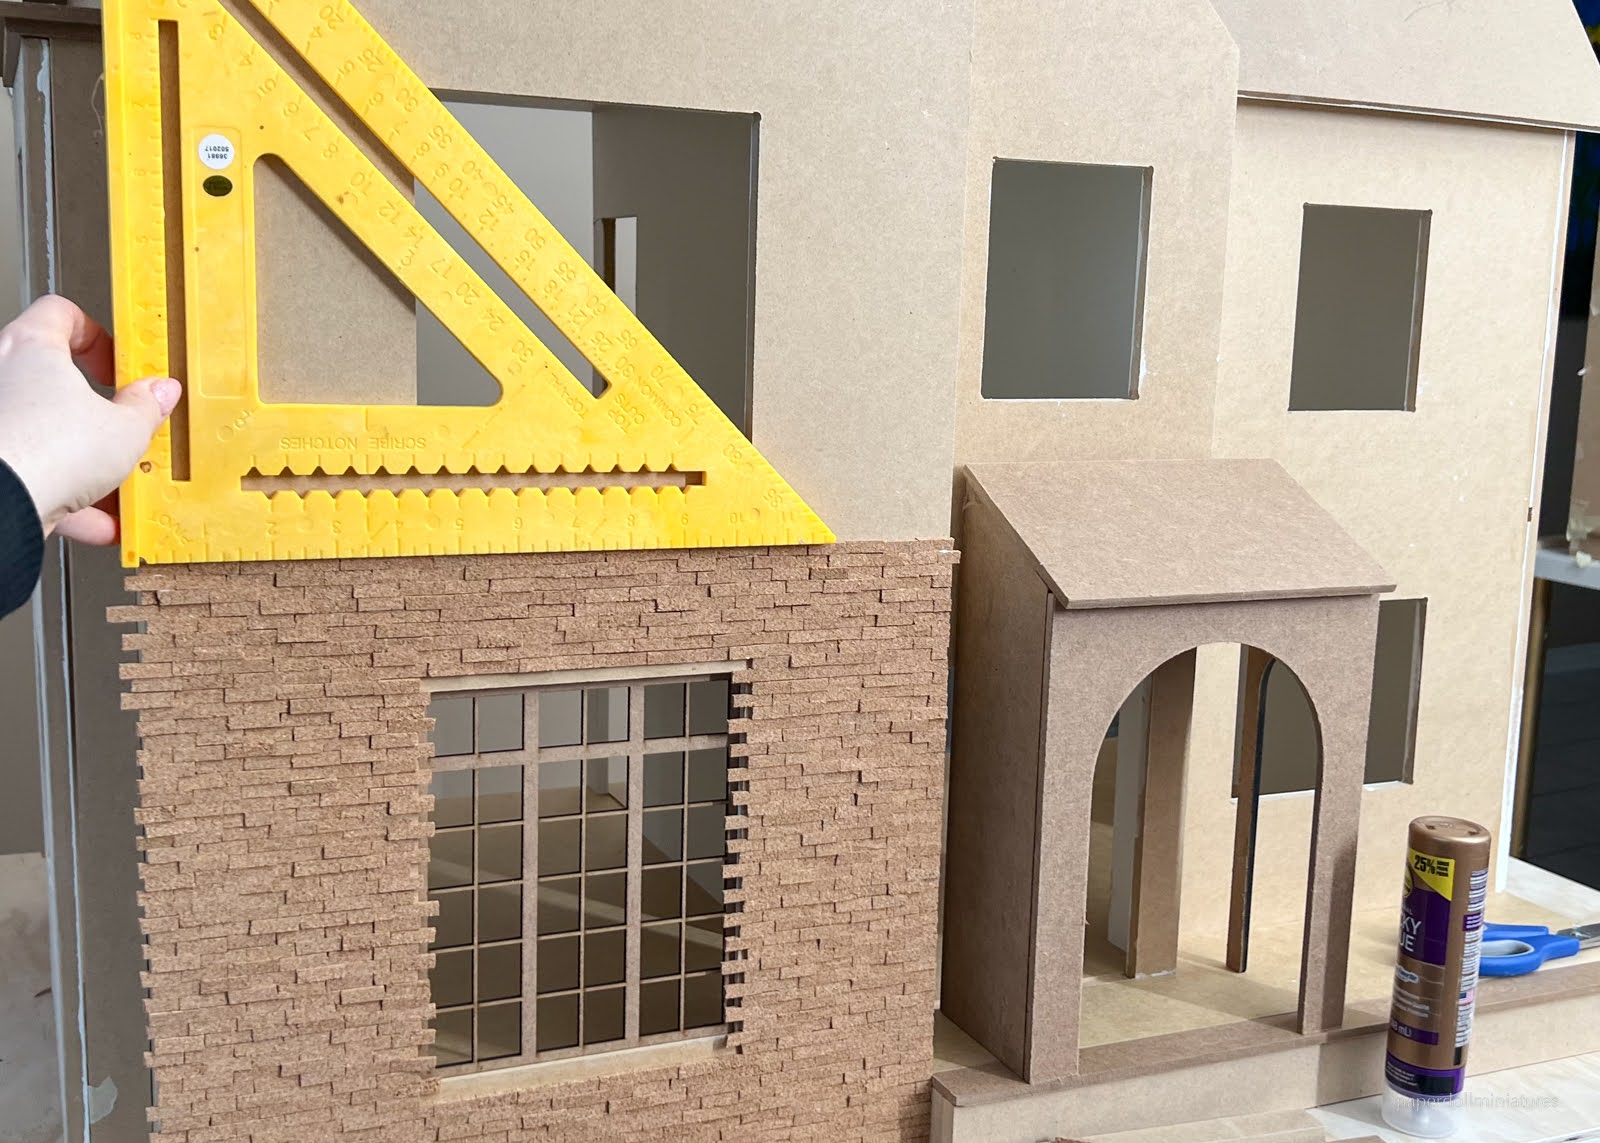

I used a square to see that my bricks were staying relatively straight.
You can see the shutters in place here. I used these 1/24 miniature louvred shutters and cut them in half so that I had one full section.


When it came to painting the brick I went with an all-white facade. I first tried Chantilly Lace by Benjamin Moore but it was too stark. So I also looked at Oxford (BM), Alabaster (SW), and Shoji White (SW). In the end, I went with Alabaster in a matte finish. The matte finish really made all the difference to make the brick look real. I bought all the paint at Home Depot in the small tester pots. The brick does absorb the paint easily so I needed to do two coats.


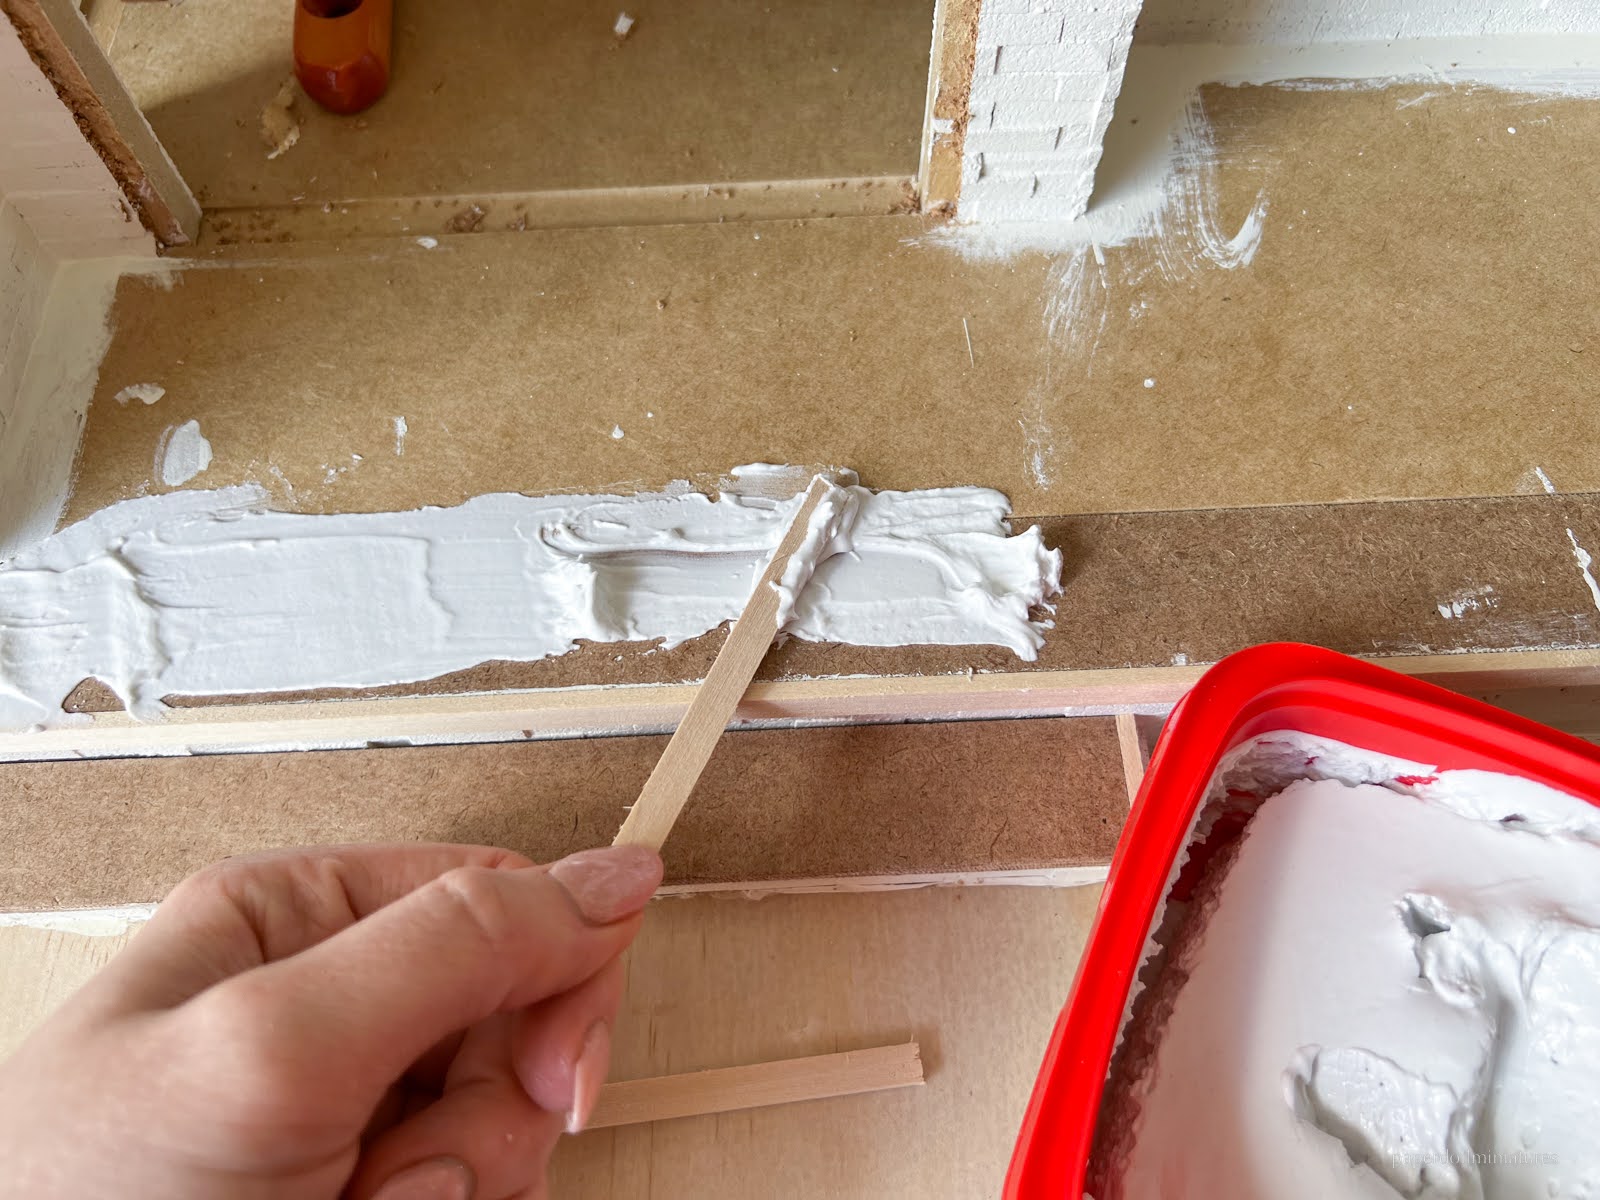
Because I added brick to the exterior it changed the depth of the walls. In some places, I added extra 1/4" x 1/8" strip wood to make the floors or roof extend past the brick like it was originally meant to. Below is an example of the stair floors. I smoothed out all these extensions with spackle, sanded and painted.


This is stunning! I love love this!
ReplyDeleteVery Beautiful! Kudos to you and Miniatures.com for offering this kit! I cannot wait to get started on mine!
ReplyDeleteMe parece que queda muy bien. Este tipo de ladrillos ofrecen un bonito efecto con el relive.
ReplyDeleteThank you for sharing this fantastic work. The brick work is stunning.
ReplyDeleteHugs, Drora
Fantastic and just amazing.!! I just watched your video with D. Thomas Miniatures. It was so good and I loved to hear how your house kit came about. Mini Hugs, Jean
ReplyDeleteI love this! I want to do cork brick on part of my Victorian house: the bottom, the tower and the chimney. I want the bricks to be reddish, though. And a bit varied from brick to brick. In this case, would I paint the bricks before gluing to the house? And what about grout?
ReplyDeleteI love this technique so much! After searching quite a while, this is the method I believe will work for my project. Thank you for this tutorial.
ReplyDeleteLove it!!!
ReplyDeleteIt appears as though some bricks are “thicker” (i.e. depth) than others. I want to do a fireplace like that. How did you achieve that effect? Did you stack some bricks ?
ReplyDeleteHi! Yes I cut the strips of cork different thicknesses. So anywhere from 3/32-3/16. The average being 1/8. Otherwise I found the bricks would just blend together. I have a full cork brick tutorial on this site :)
DeleteActually this is the tutorial sorry. So yes to be clear they are different thicknesses
DeleteThis was very helpful, and I am pleased with the way mine turned out with her tips!!!
ReplyDeleteSo happy to hear!! Thank you!
DeleteLooks great! Can I ask how you made windows?
ReplyDeletehi! These ones are laser cut on this version of the kit (the first version) ... but the new version of the kit they are made from wood. You can buy the exact same individual windows at miniaturescom now!
DeleteI’m so amazed at your creativity and your willingness to share how to do things. And you are just amazing and so inspiring. Thank you so much
ReplyDeleteWhat kind of glue did you use for the bricks? So adorable!
ReplyDeleteHi! Arlenes Tacky Glue :)
DeleteDo you have any feedback on how durable your bricks have been? I love the look but am concerned they will chip and break away easily.
ReplyDeleteI haven’t had any problems! They feel very stuck on. And the paint sort of seals everything. I used house paint too. I did the same effect on an older house and it was fine 7 years later too.
Delete